
Table of Contents
- Start With a Clear Purpose
- Choose the Right Format
- Map the Content Before Designing
- Build a Readable Layout
- Prepare the Print File
- Check Page Order and Binding
- Review Color, Images, and Type
- Create a Proofing Checklist
- Avoid Common Production Errors
- Complete a Final Preflight
- Common Questions
- Conclusion
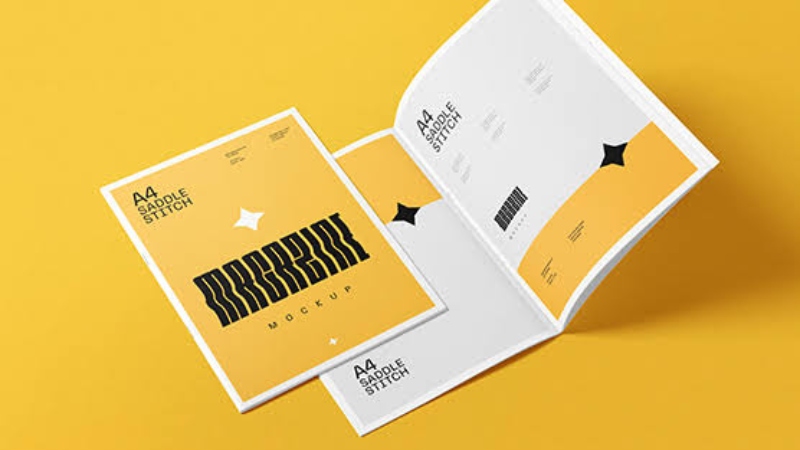
A polished booklet starts long before the file is exported. Whether it is an event program, product guide, training manual, menu, or short report, the best results come from making content, format, and production decisions together. Choosing saddle stitch printing for short-run booklets can be a practical option when a project needs folded pages, a compact finish, and an easy-to-read structure.
Use this guide to plan the reader experience first, then build a file that can move cleanly from screen to paper. Careful preparation helps prevent avoidable issues such as clipped copy, unclear images, incorrect page order, and last-minute revisions.
-
Start With a Clear Purpose
Decide what the booklet must help a reader do. A school program should make dates, names, and locations easy to find. A product guide should organize features, specifications, images, and contact details so readers can compare options quickly. Define the audience, choose one primary action, and set a realistic content range before designing pages.
Think of the booklet as a sequence rather than a stack of individual pages. Each section should earn its place by informing, teaching, persuading, or directing the reader toward the next step.
The physical choices behind a booklet also relate to the broader methods used in bookbinding, including how sheets are folded, assembled, and secured. Select the structure early so the content plan supports it.
-
Choose the Right Format
Finished size and orientation affect readability, image placement, storage, mailing, and the amount of information each page can hold. Portrait formats often suit guides, reports, and programs. Landscape formats can give schedules, maps, charts, and photo-led work more horizontal room.
Ask These Format Questions
- Will readers hold the booklet, place it on a counter, or keep it for reference?
- Does the content rely on wide diagrams, product photos, or long text passages?
- Will the selected binding open comfortably for the intended use?
- Can the final size accommodate readable type and adequate margins?
-
Map the Content Before Designing
Create a page-by-page outline before opening layout software. Start with the cover, a brief introduction or reader promise, core sections, supporting visuals, a closing call to action, and back-page details. Add a contents page only when it will genuinely help readers navigate a longer piece.
Assign content according to priority, not just available space. This reduces the temptation to force a dense article into a small page or stretch thin content across several pages. Leave room for section openers, captions, and visual breaks.
-
Build a Readable Layout
A strong layout gives readers clear signals about what to read first. Use a consistent heading hierarchy, predictable page-number placement, and spacing that separates unrelated ideas without breaking up related information. Short paragraphs and useful subheads make printed material easier to scan.
- Keep body copy in manageable blocks.
- Use captions to explain photos, diagrams, and charts.
- Align repeated elements consistently across pages.
- Keep important text away from the binding area and trim edge.
- Print a sample at actual size to judge text comfortably.
-
Prepare the Print File
A file that looks finished on a monitor may still need production work. Set the document to the final trim size, use the printer’s requested margins and bleed, and verify that every image, font, and linked graphic is available. When artwork or a background reaches the edge, it should extend beyond the trim line so slight cutting variation does not leave an unintended white edge.
For a closer explanation of why artwork extends beyond the finished page, Adobe describes how bleed areas prevent white gaps after trimming. Confirm the required measurement with the production provider rather than assuming every job uses identical settings.
Print-Ready File Checklist
- Use the correct final page size and orientation.
- Keep essential copy inside the safe area.
- Use clear, high-resolution images appropriate for print.
- Embed fonts or follow the printer’s font-handling requirements.
- Export a PDF using the requested settings and color workflow.
- Submit single pages unless the printer specifically asks for spreads.
-
Check Page Order and Binding
Reader pages usually run in normal numerical order in the design file, but printer spreads may be arranged differently for folding and binding. This production arrangement is called imposition. Confirm the total page count works with the selected method, then inspect the cover, back page, center spread, page numbers, and any full-spread images.
A small folded mockup is especially useful. It can expose upside-down pages, misplaced elements, awkward crossovers, and content that disappears too far into the fold.
-
Review Color, Images, and Type
Screens create color with light, while printed pieces use ink or toner on paper. As a result, a bright display preview is not a guarantee of the final appearance. Check dark photos for lost detail, confirm that small labels remain sharp, and avoid placing fine type over busy images.
Contrast matters as much as style. Pale gray captions or low-contrast color combinations may look subtle on screen but become difficult to read in print, particularly on uncoated stock or under dim lighting.
-
Create a Proofing Checklist
Review the booklet in separate passes because content, design, and production problems are easier to catch when they are not competing for attention.
- Content pass: Check spelling, names, dates, prices, links, phone numbers, and calls to action.
- Design pass: Check alignment, spacing, visual balance, captions, and consistency.
- Production pass: Check size, bleed, margins, images, fonts, page order, and export settings.
-
Avoid Common Production Errors
Common problems include uploading the wrong version, omitting a page, using low-quality images, changing the page size late in the process, placing text too close to the trim, and sending spreads when separate pages were requested. Keep approved files in a clearly named folder so reviewers and production teams are working from the same version.
-
Complete a Final Preflight
Before release, open the exported PDF on a second device, confirm the page count and dimensions, inspect the cover and several interior pages, and check images at high magnification. Print and fold a test copy when timing and budget allow. Then ask a fresh reviewer to approve the final version before production begins.
Common Questions
How many pages should a booklet have?
Use enough pages to serve the reader without adding filler. The right count depends on the content, finished size, paper, and binding method.
Should a booklet file use single pages or spreads?
Single pages are commonly requested because production teams can impose them for the chosen workflow. Always follow the specifications supplied for the job.
Is a physical proof necessary?
A physical proof is valuable when the project includes small type, critical colors, tight margins, complex folds, or an expensive print run. It reveals handling and readability issues that may be less obvious digitally.
Conclusion
A print-ready booklet is the result of deliberate choices at every stage. Start with a defined purpose, plan the page flow, design for comfortable reading, prepare the file accurately, and proofread it carefully. The strongest finished booklets are not necessarily the most elaborate. They are the ones who make information easy to understand and arrive on paper as intended. Click here for more information.